Installation
Requirements
- PHP 8.3 or newer
- Laravel 12 or 13
- Filament 4 or 5
- A queue worker if you use Wait steps or queued runs (see Queue & scheduling)
- Optional:
packstub/agents(PHP 8.4) for the Ask AI action — see Actions
1. Require the package
composer require packstub/filament-flow
php artisan packstub-flow:install
The install command publishes the config file and the migration (create_flow_tables) and offers to run it. You can run the pieces yourself instead:
php artisan vendor:publish --tag="packstub-flow-config"
php artisan vendor:publish --tag="packstub-flow-migrations"
php artisan migrate
The migration creates seven tables: flow_workflows, flow_workflow_triggers, flow_workflow_runs, flow_workflow_steps, flow_workflow_waits, flow_workflow_versions and flow_secrets.
Note
The table names come from tables in the config file. If you want different names, change them before migrating — see Configuration.
Upgrading
A new minor may add columns; it never renames or drops one. The additions ship as their own guarded migrations, so an existing install publishes and runs whatever is new:
php artisan vendor:publish --tag="packstub-flow-migrations"
php artisan migrate
Only files you do not have yet are copied. 1.2 adds add_audit_columns_to_flow_workflows (created_by / updated_by); the changelog lists the migration of every release.
2. Prepare your models
Add the HasWorkflows trait to every model that should be able to start a workflow. It fires the Record created, Record updated and Record deleted triggers from the model's own events, and the model is listed under "Record type" in those triggers' settings.
use Illuminate\Database\Eloquent\Model;
use Packstub\Flow\Concerns\HasWorkflows;

class Order extends Model
{
    use HasWorkflows;
}
Models in app/Models that use the trait are discovered automatically. Models elsewhere can be added through models_for_triggers in the config or FlowPlugin::make()->models([...]) — see Triggers.
3. Register the plugin
use Packstub\Flow\FlowPlugin;

public function panel(Panel $panel): Panel
{
    return $panel
        // ...
        ->plugin(
            FlowPlugin::make()
                ->navigationGroup('Automation'),
        );
}
This registers the Workflows resource (/workflows under the panel path). Every option is described in Configuration.
Note
The Send notification action delivers Filament database notifications. For them to show in the panel, your users table needs Laravel's notifications table (php artisan make:notifications-table) and the panel needs ->databaseNotifications().
4. Queue and scheduler
Two optional pieces of infrastructure, depending on what your workflows use:
- Wait steps always continue through the queue, and setting
PACKSTUB_FLOW_QUEUE=truemoves every run onto the queue. Run a worker:php artisan queue:work. - Schedule triggers are evaluated every minute by
packstub-flow:cron, which the plugin adds to Laravel's scheduler for you. Run the scheduler:php artisan schedule:worklocally, or a cron entry forschedule:runin production.
Details in Queue & scheduling.
5. Try it
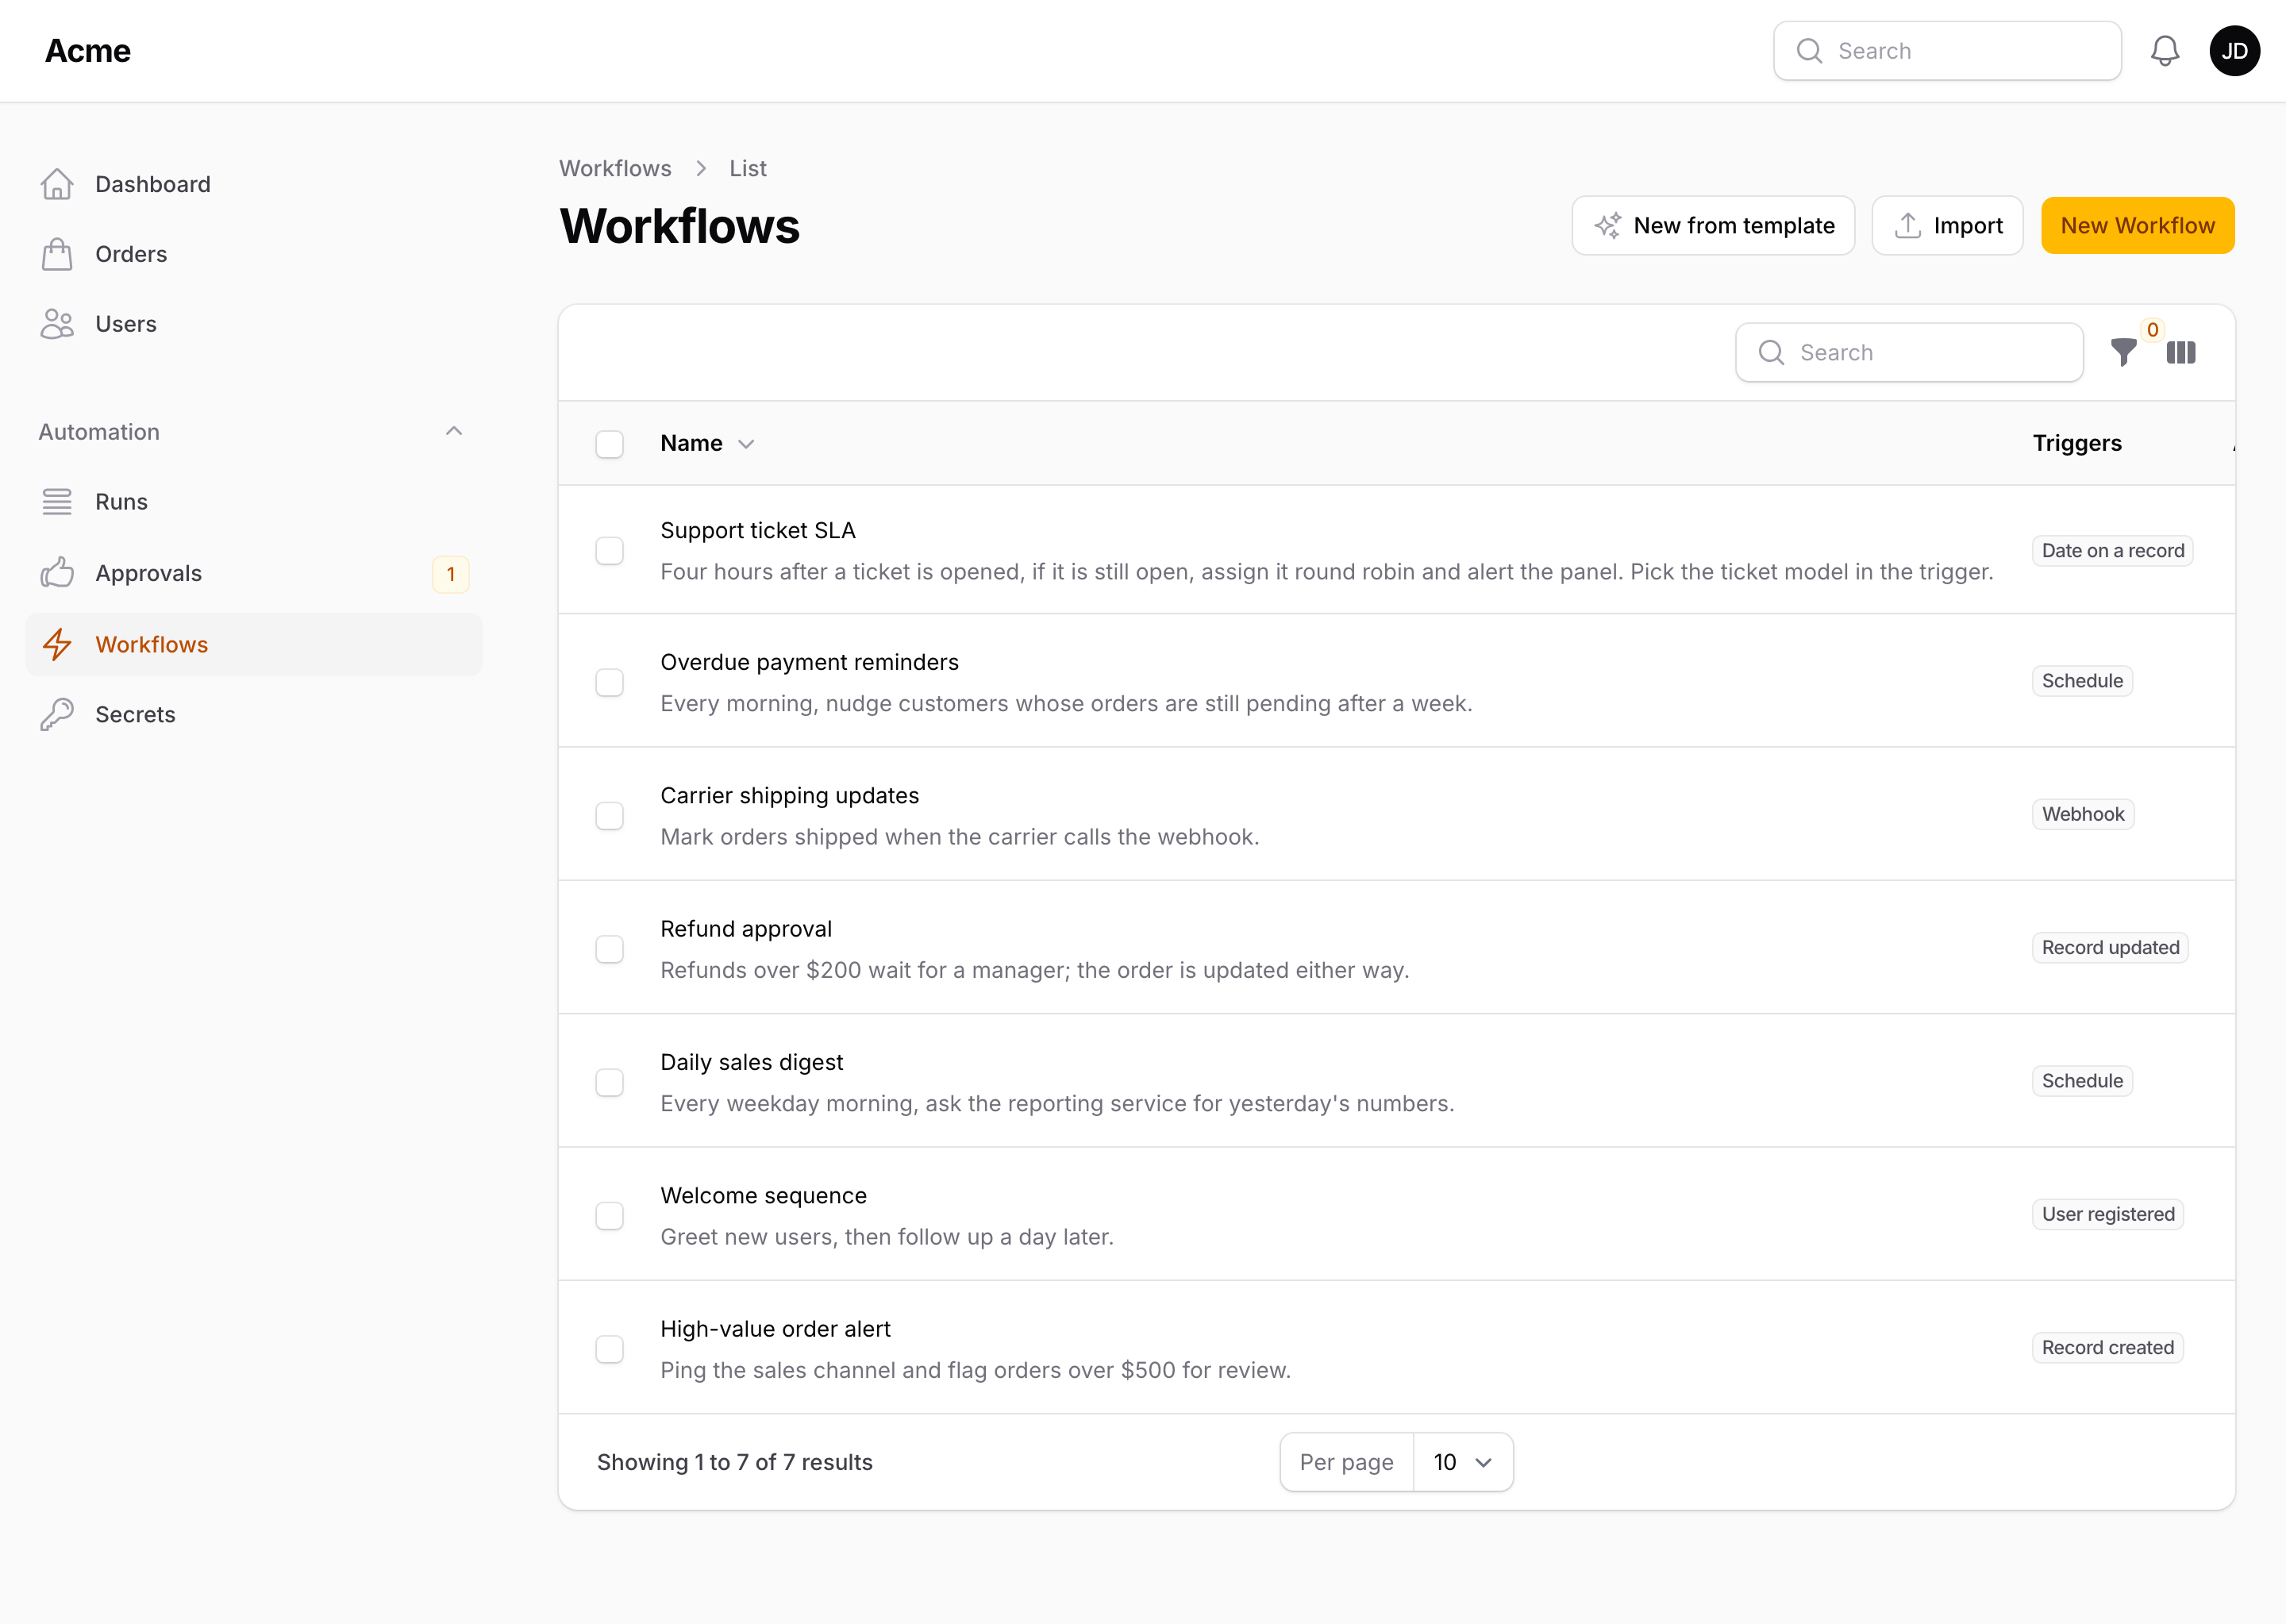
- Open Workflows in the panel navigation and click New workflow. Give the workflow a name, keep Blank canvas picked and press Create workflow: it opens in the full-page editor, inactive (inactive workflows never run).
- On the canvas, click Add a trigger and pick Manual.
- Click the plus next to the trigger's output handle and pick Write to log. Open its settings (gear icon or double-click), type a message, and Apply.
- Flip the Active switch next to the workflow's name on, then press Run now.
- Open the Runs tab at the top of the page: the run shows as Succeeded with two steps, and your message is in
storage/logs/laravel.log.
Continue with Building workflows.